Example Home Theater Projects in Renton

Each example takes one home theater job in Renton or a nearby town and shows the room, what the owners wanted, the equipment, the steps and an estimated cost.

Read them as planning examples. They do not describe past jobs, real clients or real addresses, and they combine local house ages, the way each kind of job is usually done and our 2026 price ranges.

Dedicated movie room with one wide row of seats

Example project
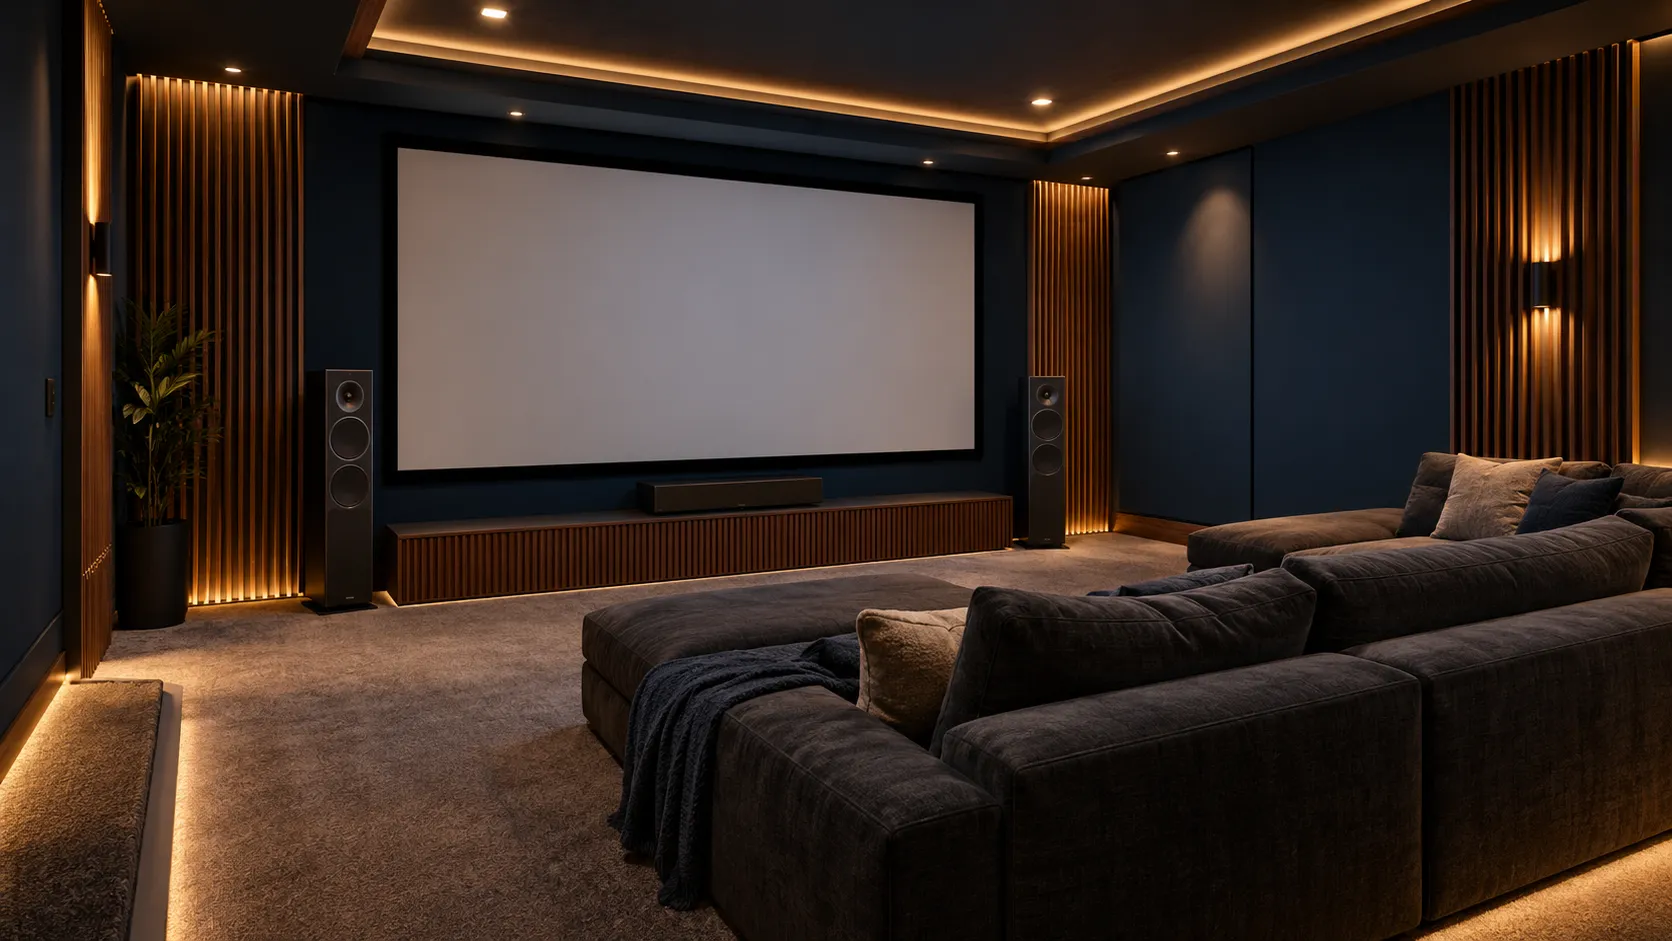
Dark blue home theater with a large screen, tower speakers, wood slat panels with lights and a wide sectional
Home
2000s house in Renton with a large room on the lower floor
Original request
A room used only for movies, with a big screen and sound from every side
Room
About 15 by 20 ft, already finished, with dark blue walls and carpet
Picture
Fixed screen about 135 inches wide, with the projector behind the seats
Sound
7.1.4 Atmos with tower speakers, a center speaker, surrounds, ceiling speakers and a subwoofer
Seats
One wide sectional row facing the screen
Treatment
Fabric wall panels and wood slat panels with lights behind them
Estimated cost
$48,000

Scope of work

A projector and a fixed screen, a 7.1.4 Atmos system with a receiver, speaker wiring in the walls and ceiling, fabric acoustic panels and wood slat panels, a sectional for one row of seats, and a full set-up of picture and sound from the seats. Paint, carpet, ceiling work and any building changes to the room are a separate cost.

Project overview

In this example, the owners of a 2000s house in Renton have a large room on the lower floor that they want to use only for movies. They want a big picture, sound from every side and seats for the whole family in one row.

The screen fills most of the front wall, with tower speakers on either side and the center speaker below it. Fabric panels and wood slats on the side walls soak up echoes. Ceiling speakers add the overhead sound for Atmos movies, and the projector sits behind the seats.

The goal

The goal is a room built around one row of seats, with the picture and sound set for them.

Process

  1. Before work Seats placed first, then the screen size and speaker spots set from them.
  2. Wiring Speaker and video cables pulled through the walls and ceiling to the equipment cabinet.
  3. Room Panels, slats and screen fixed, ceiling speakers cut in and the towers placed.
  4. Equipment Projector mounted, receiver and sources connected in the cabinet.
  5. Set-up Picture and sound set for the seats, and the family shown the remote.

Planning right

  • Choose the seats before anything else. Screen size and speaker spots follow from them.
  • Dark walls and ceiling help the picture by cutting reflected light.
  • Panels and slats change the sound inside the room. They do not stop it reaching the bedrooms.
  • If the equipment needs its own power circuit, plan it early. It is a separate cost.
Get a free quoteMore about dedicated home theaters

Small movie room in a spare bedroom

Example project

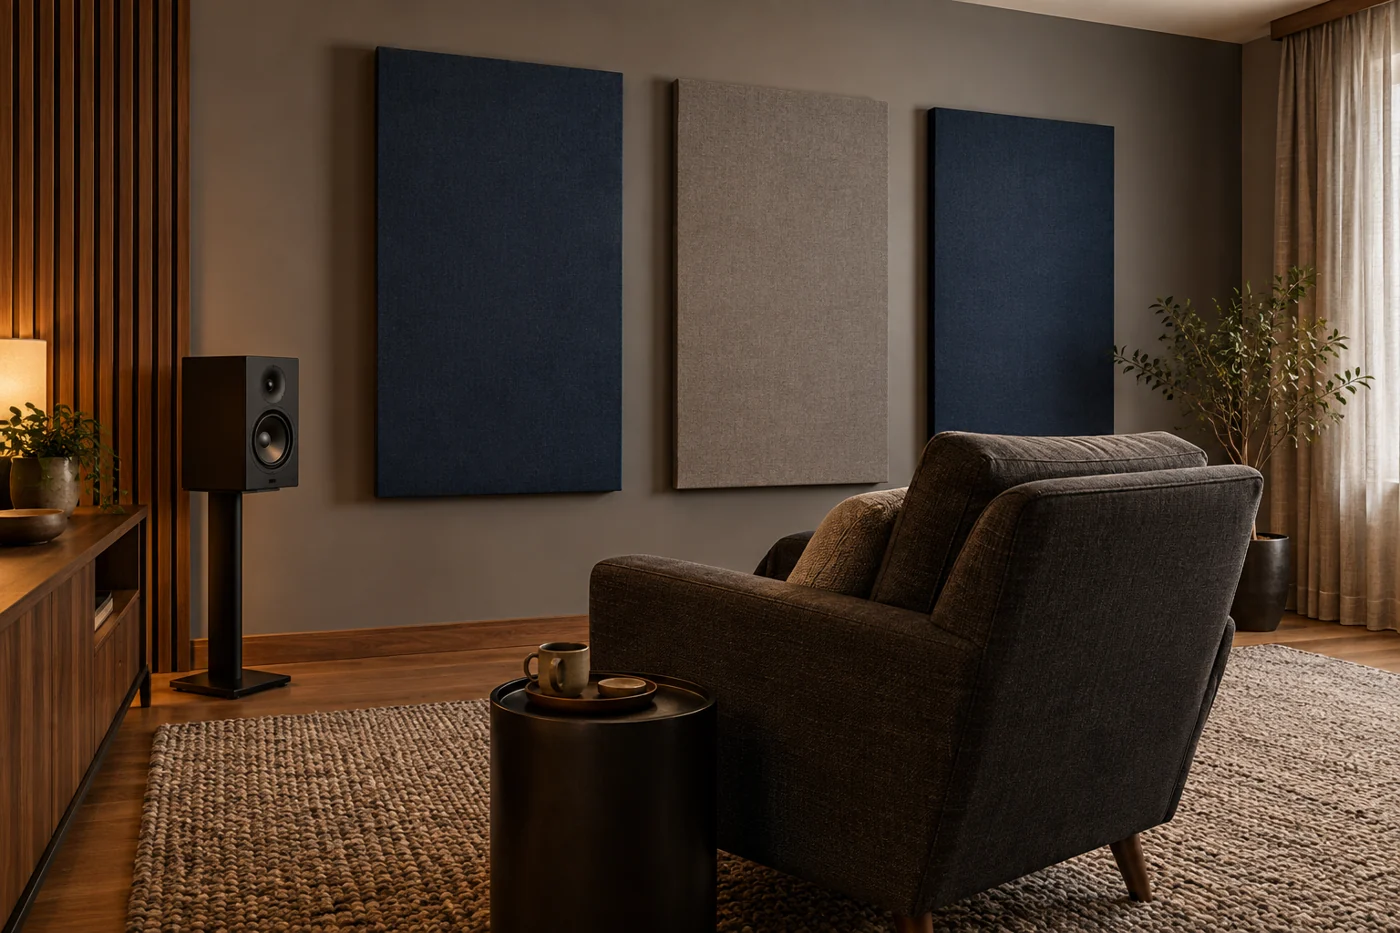
Fabric acoustic panels on a wall, a speaker on a stand, an armchair and a rug in a small room
Home
1960s house in Renton
Original request
A small room for films, so the TV can leave the living room
Room
Spare bedroom, about 11 by 12 ft, with one window and wood floors
Picture
Large TV on a wall mount
Sound
5.1 with speakers on stands, a center speaker and a subwoofer
Treatment
Three fabric panels on the bare wall; the owners add a thick rug and lined curtains
Estimated cost
$16,500

Scope of work

A large TV on a wall mount, a 5.1 system with a receiver, speakers on stands and a subwoofer, speaker cables hidden along the baseboards, three fabric panels, and the system set up for the chairs. The rug, curtains and furniture are the owners’ own.

Project overview

In this example, the owners of a 1960s house in Renton have a spare bedroom that is rarely used. They want a small room for films, so the TV can leave the living room and the living room can be quiet again.

A large TV goes on the wall, with speakers on stands and a subwoofer. The room has hard walls and a wood floor, so three fabric panels go on the bare wall and the owners add a thick rug and lined curtains to calm the echo.

The goal

The goal is a small, quiet room for films that frees up the living room.

Process

  1. Before work Chairs, TV and speaker spots planned around the window and the door.
  2. Mounting TV mount fixed into the studs and the TV hung.
  3. Sound Speakers and subwoofer placed, cables run along the baseboards, panels fixed to the wall.
  4. Set-up Sound tuned from the armchair and the owners shown the remote.

Planning right

  • Measure the distance from the chairs before choosing the TV size.
  • Lined curtains help the picture in the day as well as the sound.
  • A small room needs less power than a big one, so a mid-range receiver is enough.
  • Bedroom walls let sound through. Tell us if someone sleeps next door.

Get a free quoteMore about dedicated home theaters

Surround sound for a family room TV wall

Example project

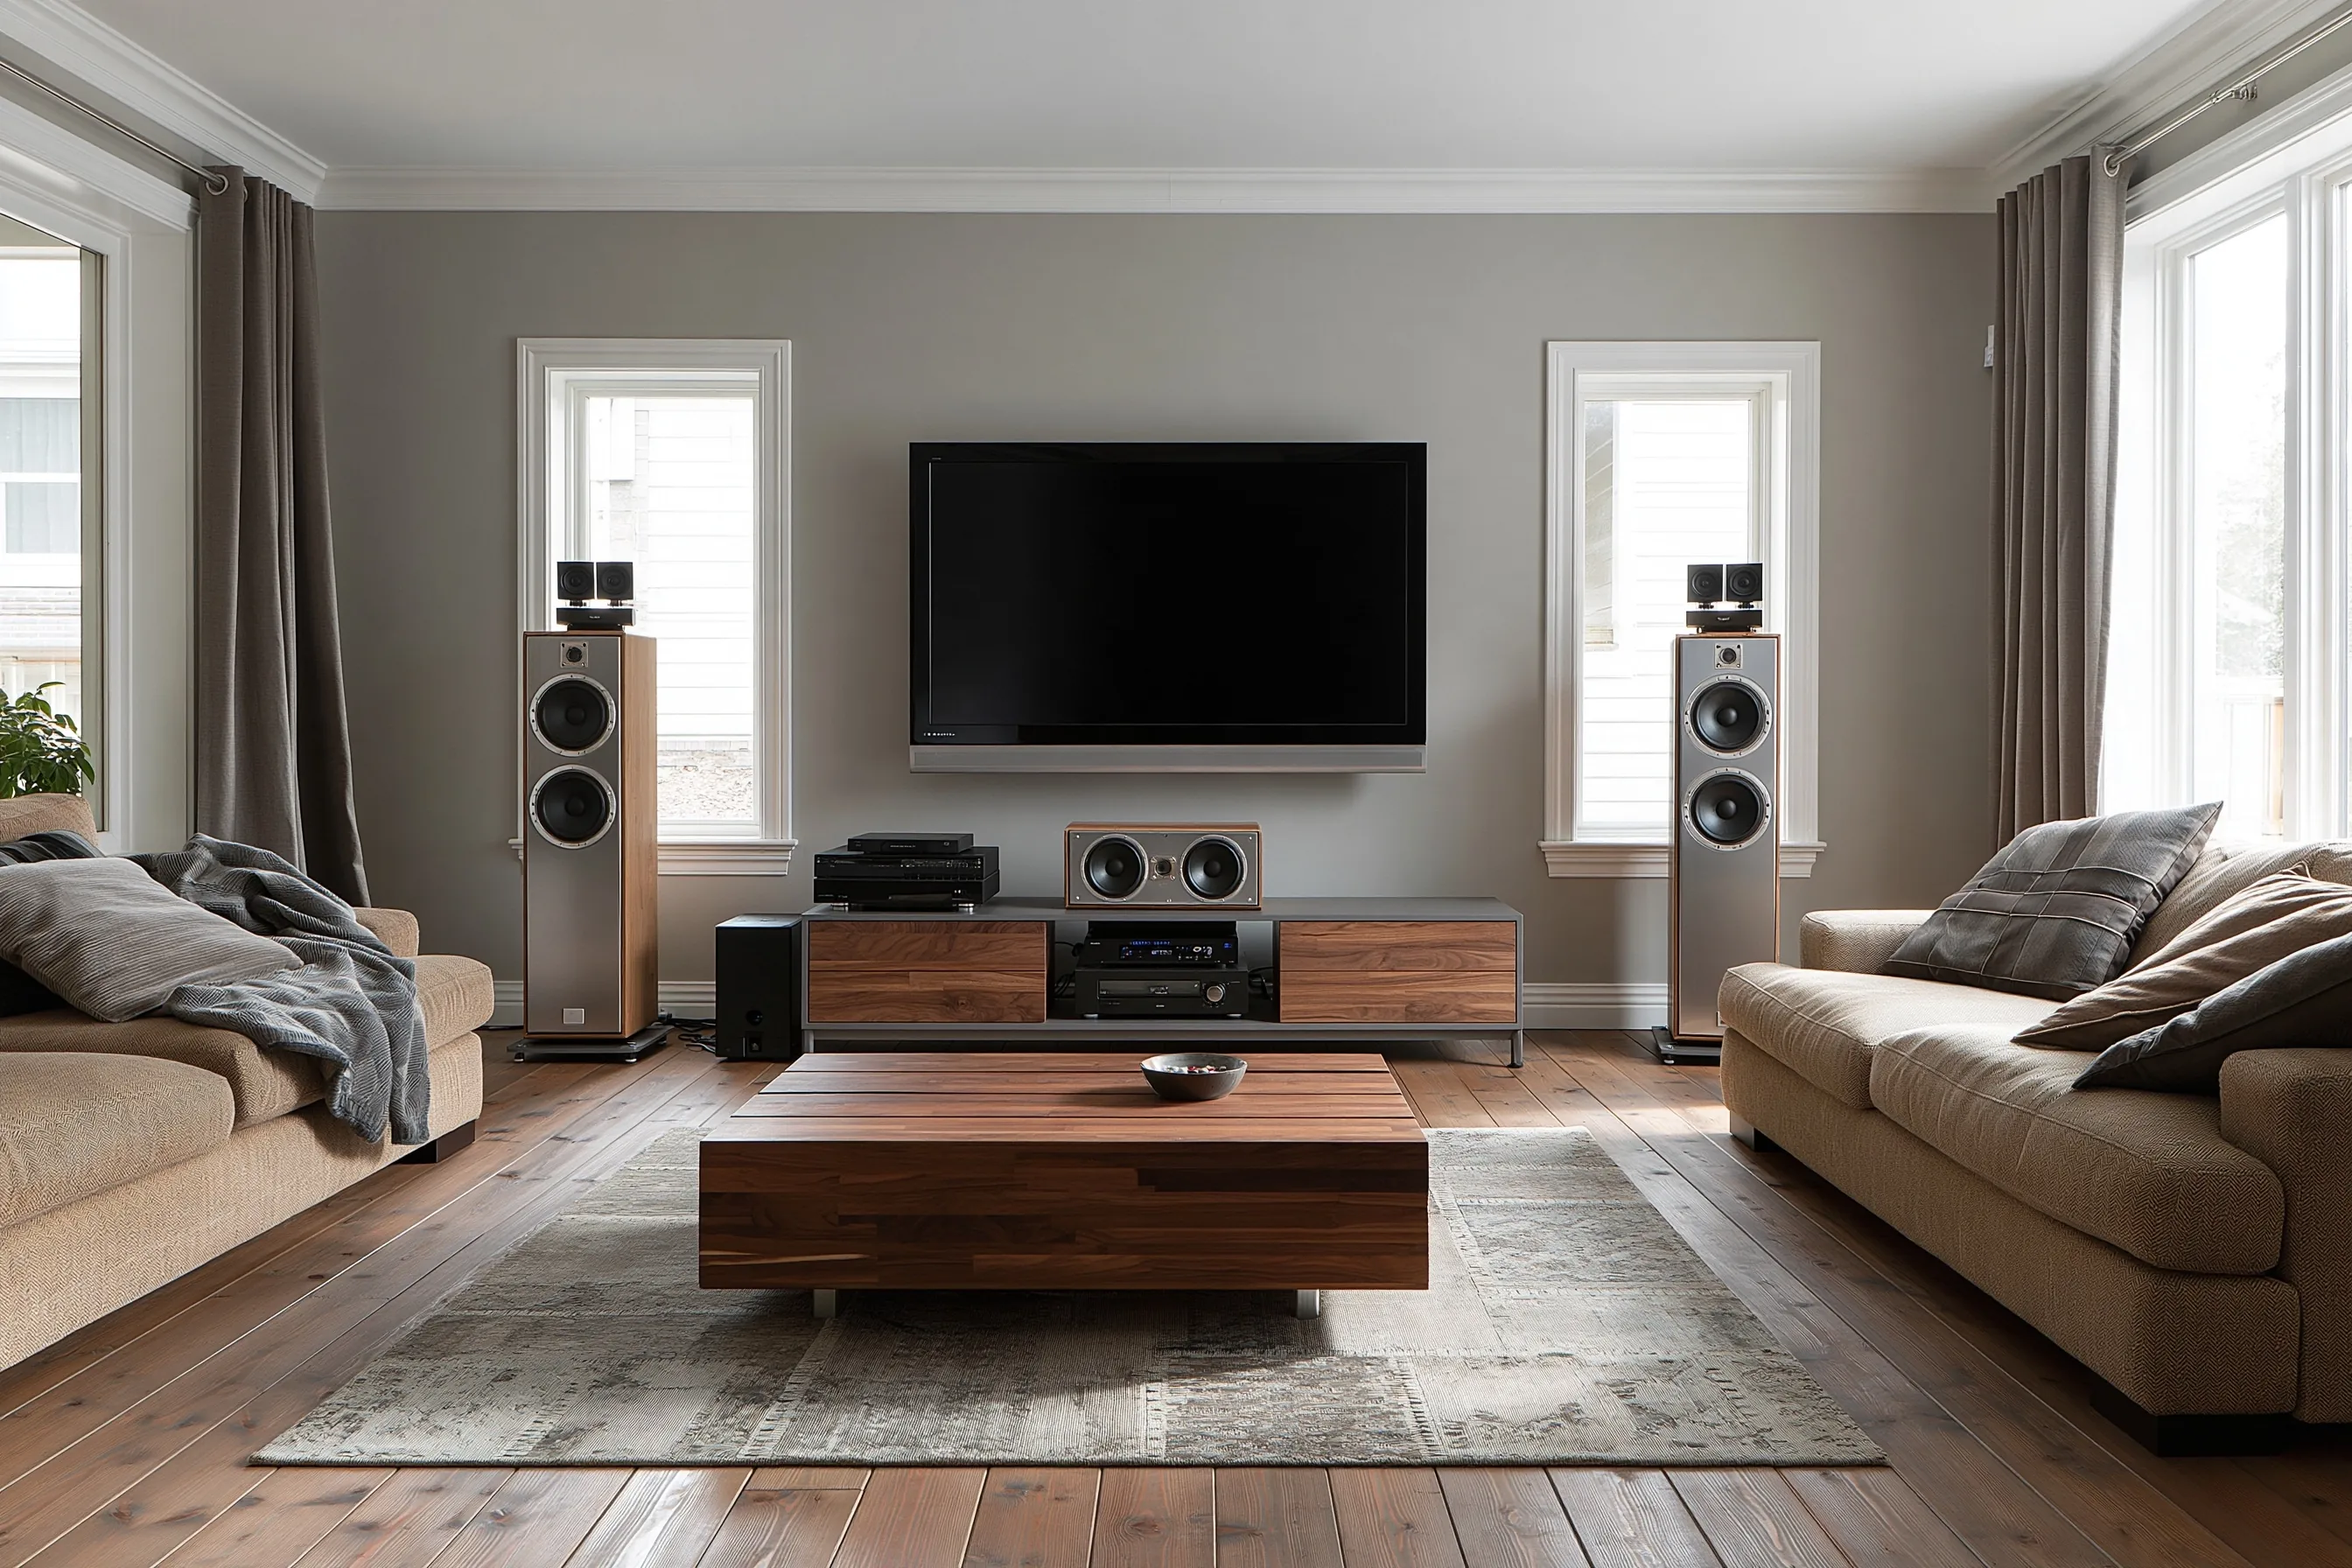
Living room TV wall with tower speakers on either side, a center speaker on a walnut console and two sofas facing each other
Home
1990s house in Kent
Original request
Real surround sound for movies in the family room, without a separate theater
System
5.1 with two tower speakers, a center speaker under the TV, two surrounds and a subwoofer
Wiring
Surround cables run in the wall and through the crawl space
TV
The owners’ TV, mounted on the wall; the TV is not part of the cost
Estimated cost
$8,800

Scope of work

A receiver, two tower speakers, a center speaker, two surround speakers and a subwoofer, the TV wall mount, cables for the surrounds run in the wall and through the crawl space, and the system set up and leveled for both sofas.

Project overview

In this example, the owners of a 1990s house in Kent want movies in the family room to sound like a theater. They do not want a separate room, and the family room still has to work for everyday TV.

The tower speakers stand on either side of the TV, with the center speaker below it. The surround cables go through the wall and the crawl space, so no wires cross the floor. The two sofas face each other across the room, so the system is tuned for both of them.

The goal

The goal is theater sound in the family room, with no wires on the floor.

Process

  1. Before work Seat position, speaker spots and cable routes agreed, and the crawl space checked for access.
  2. Cables Surround cables run in the wall and under the floor, and wall plates fitted.
  3. Install TV mounted, speakers placed and the receiver connected.
  4. Set-up Levels and distances set from both sofas, and the remote shown to the family.

Planning right

  • Plan the system around where people sit, not where the TV hangs.
  • Tower speakers sound better with a little space behind them.
  • A crawl space under the room can hide the surround cables.
  • Choose a receiver with room for one more source than you have today.

Get a free quoteMore about living room media systems

Projector and drop-down screen in a living room

Example project

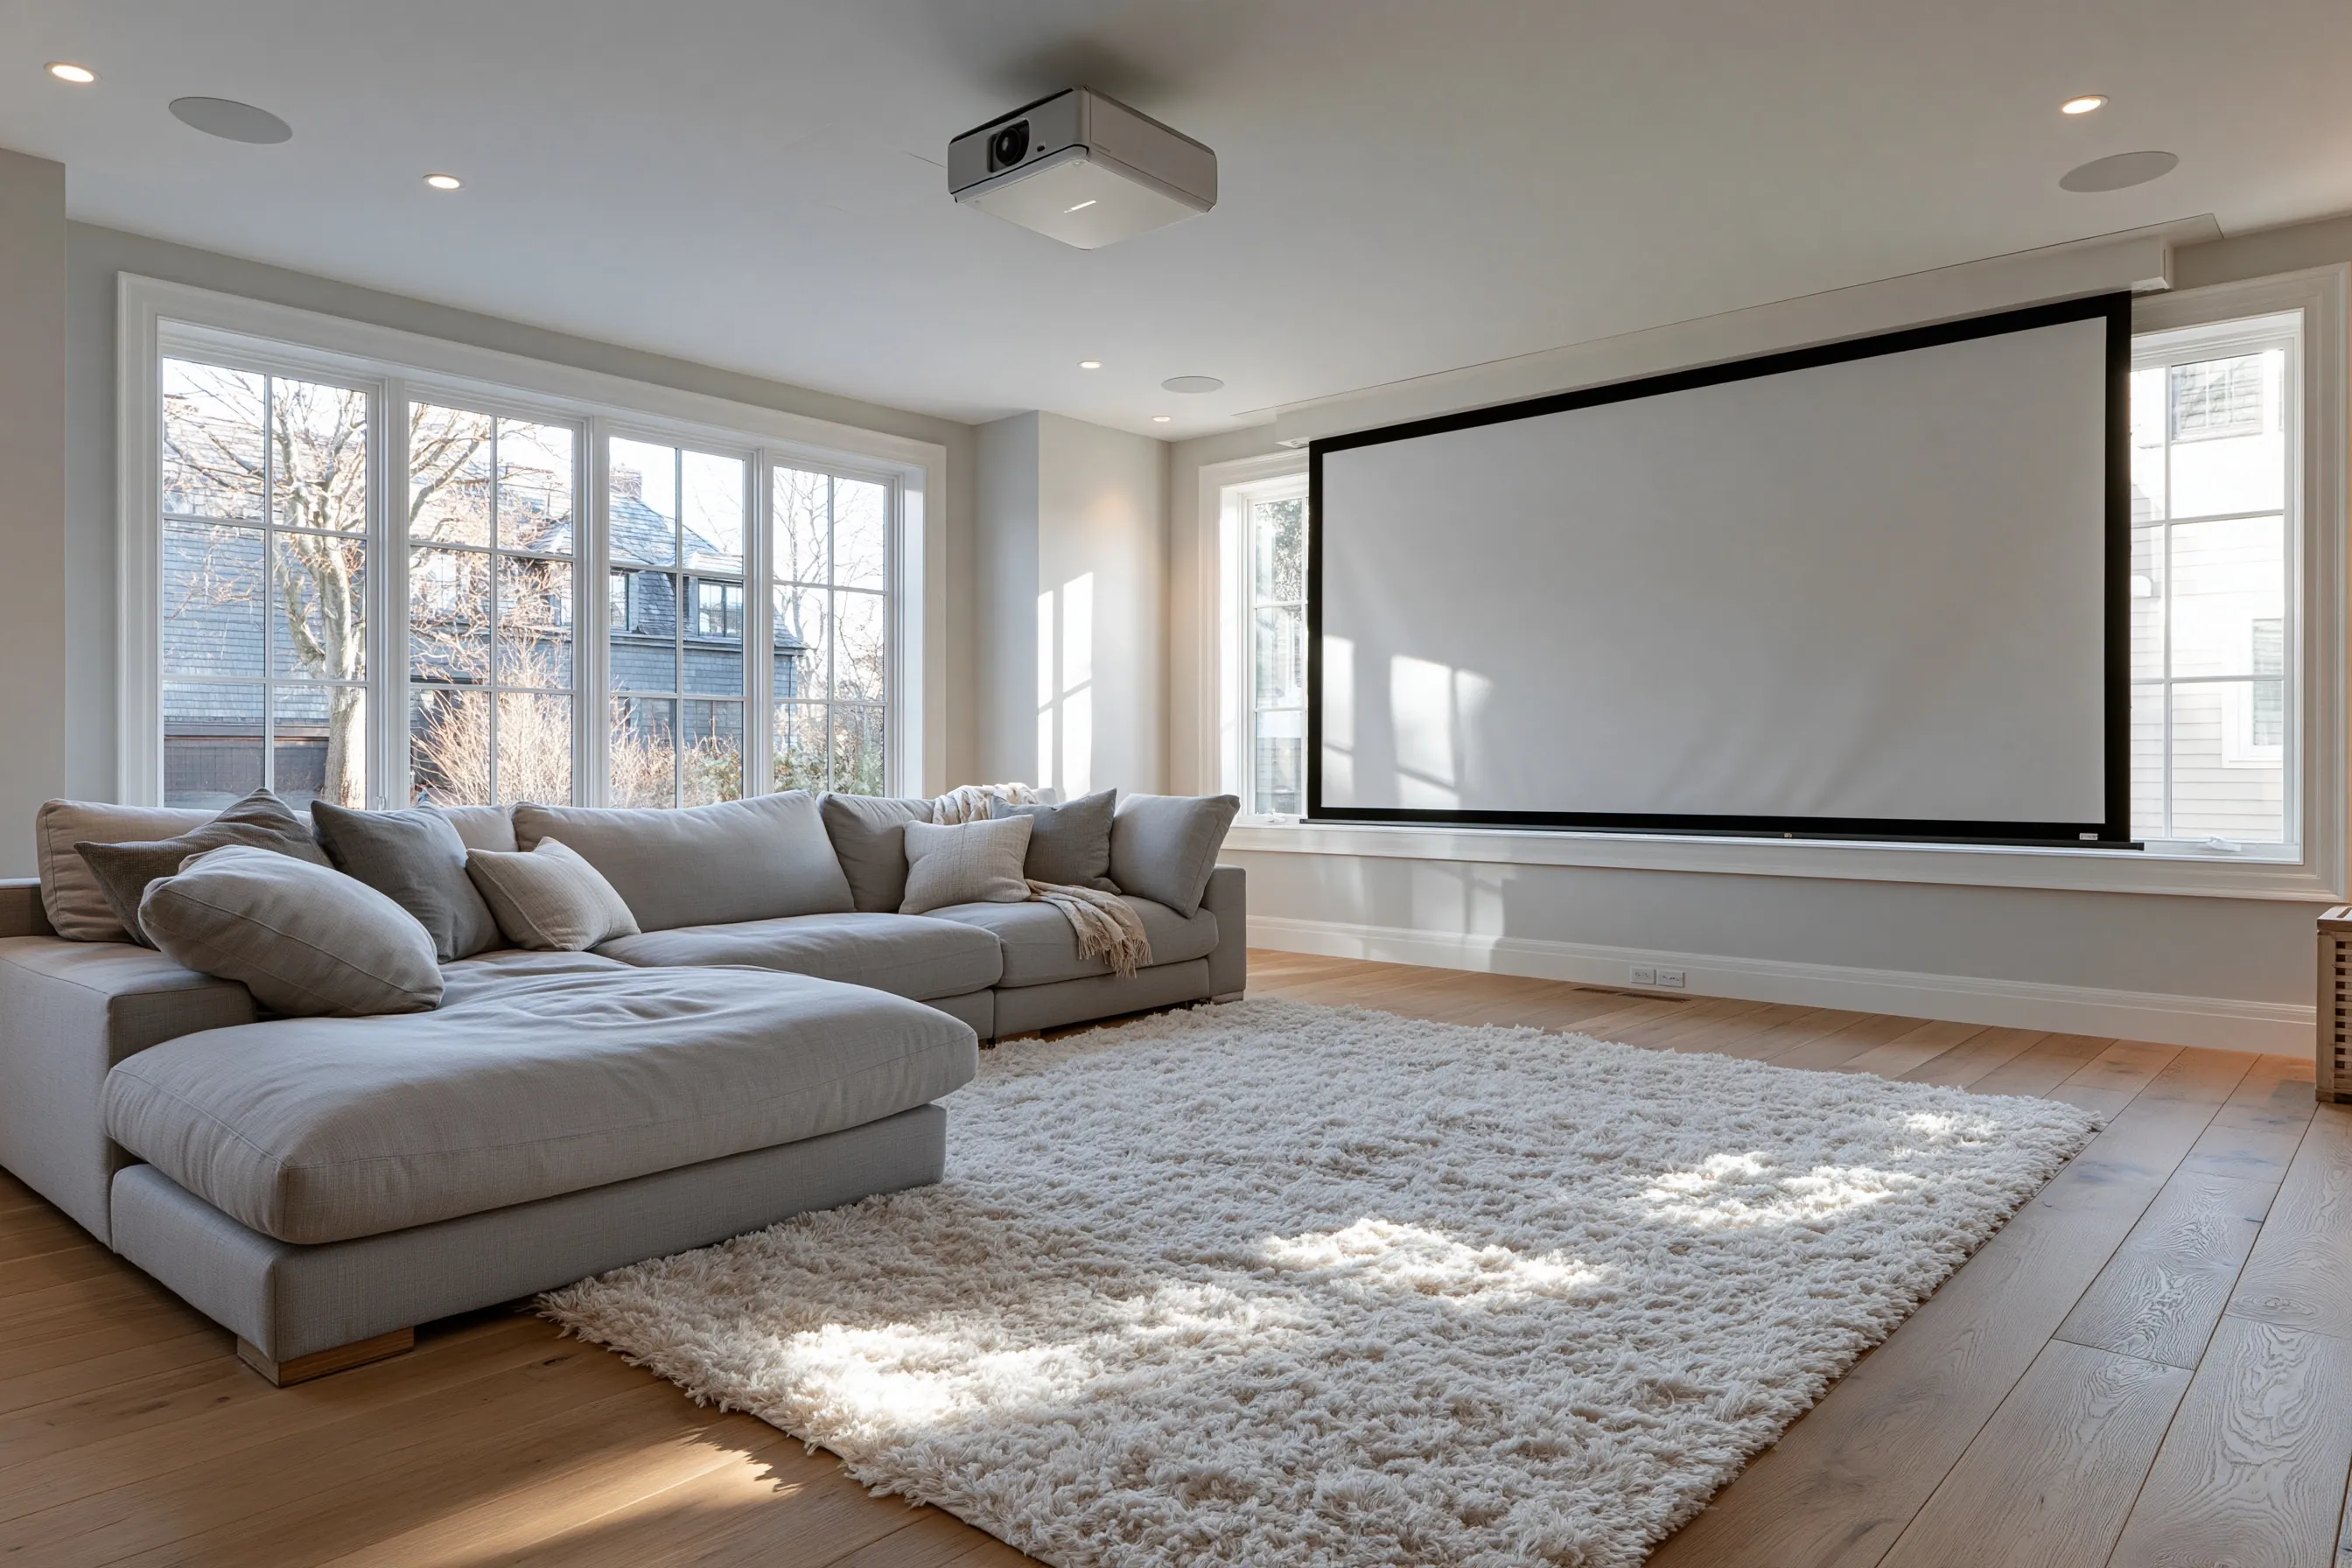
Bright living room with a ceiling projector, a screen lowered in front of a window and a large sectional sofa
Home
1990s house in Renton
Original request
A big picture for movie nights in a bright living room, with the windows clear by day
Screen
Motorized screen, about 120 inches, that lowers in front of the window wall
Projector
Laser projector on a ceiling mount in the middle of the room
Cables
Power and video run inside the ceiling
Estimated cost
$8,400

Scope of work

A laser projector and a motorized screen, the projector fixed on a ceiling mount, the screen case fixed to the ceiling in front of the windows, power and video cables run inside the ceiling, the picture aligned and sized, and the screen added to the remote.

Project overview

In this example, the owners of a 1990s house in Renton want a large picture for movie nights, but the living room is also where they read and have coffee in daylight. A big TV would fill the wall they look out of.

A motorized screen sits in a slim case at the ceiling and lowers in front of the window wall at night. The laser projector sits on a ceiling mount in the middle of the room, with its cables inside the ceiling. In the day the screen rolls up and the windows are clear.

The goal

The goal is a large movie picture at night and a clear window wall during the day.

Process

  1. Before work Screen size matched to the seating distance and the projector spot worked out from its throw.
  2. Cables Power and video run inside the ceiling to the projector spot.
  3. Mounting Screen case fixed to the ceiling, projector mounted and leveled.
  4. Set-up Picture aligned to the screen edges, and screen and projector added to one remote.

Planning right

  • Measure from the sofa to the screen before choosing a size.
  • The projector’s throw distance decides where the mount goes.
  • Blinds or curtains help an evening picture in a room with big windows.
  • A screen that lowers in front of windows needs clear space below it, away from plants and lamps.

Get a free quoteMore about projector and screen installation

Four ceiling speakers added to a 5.1 system

Example project

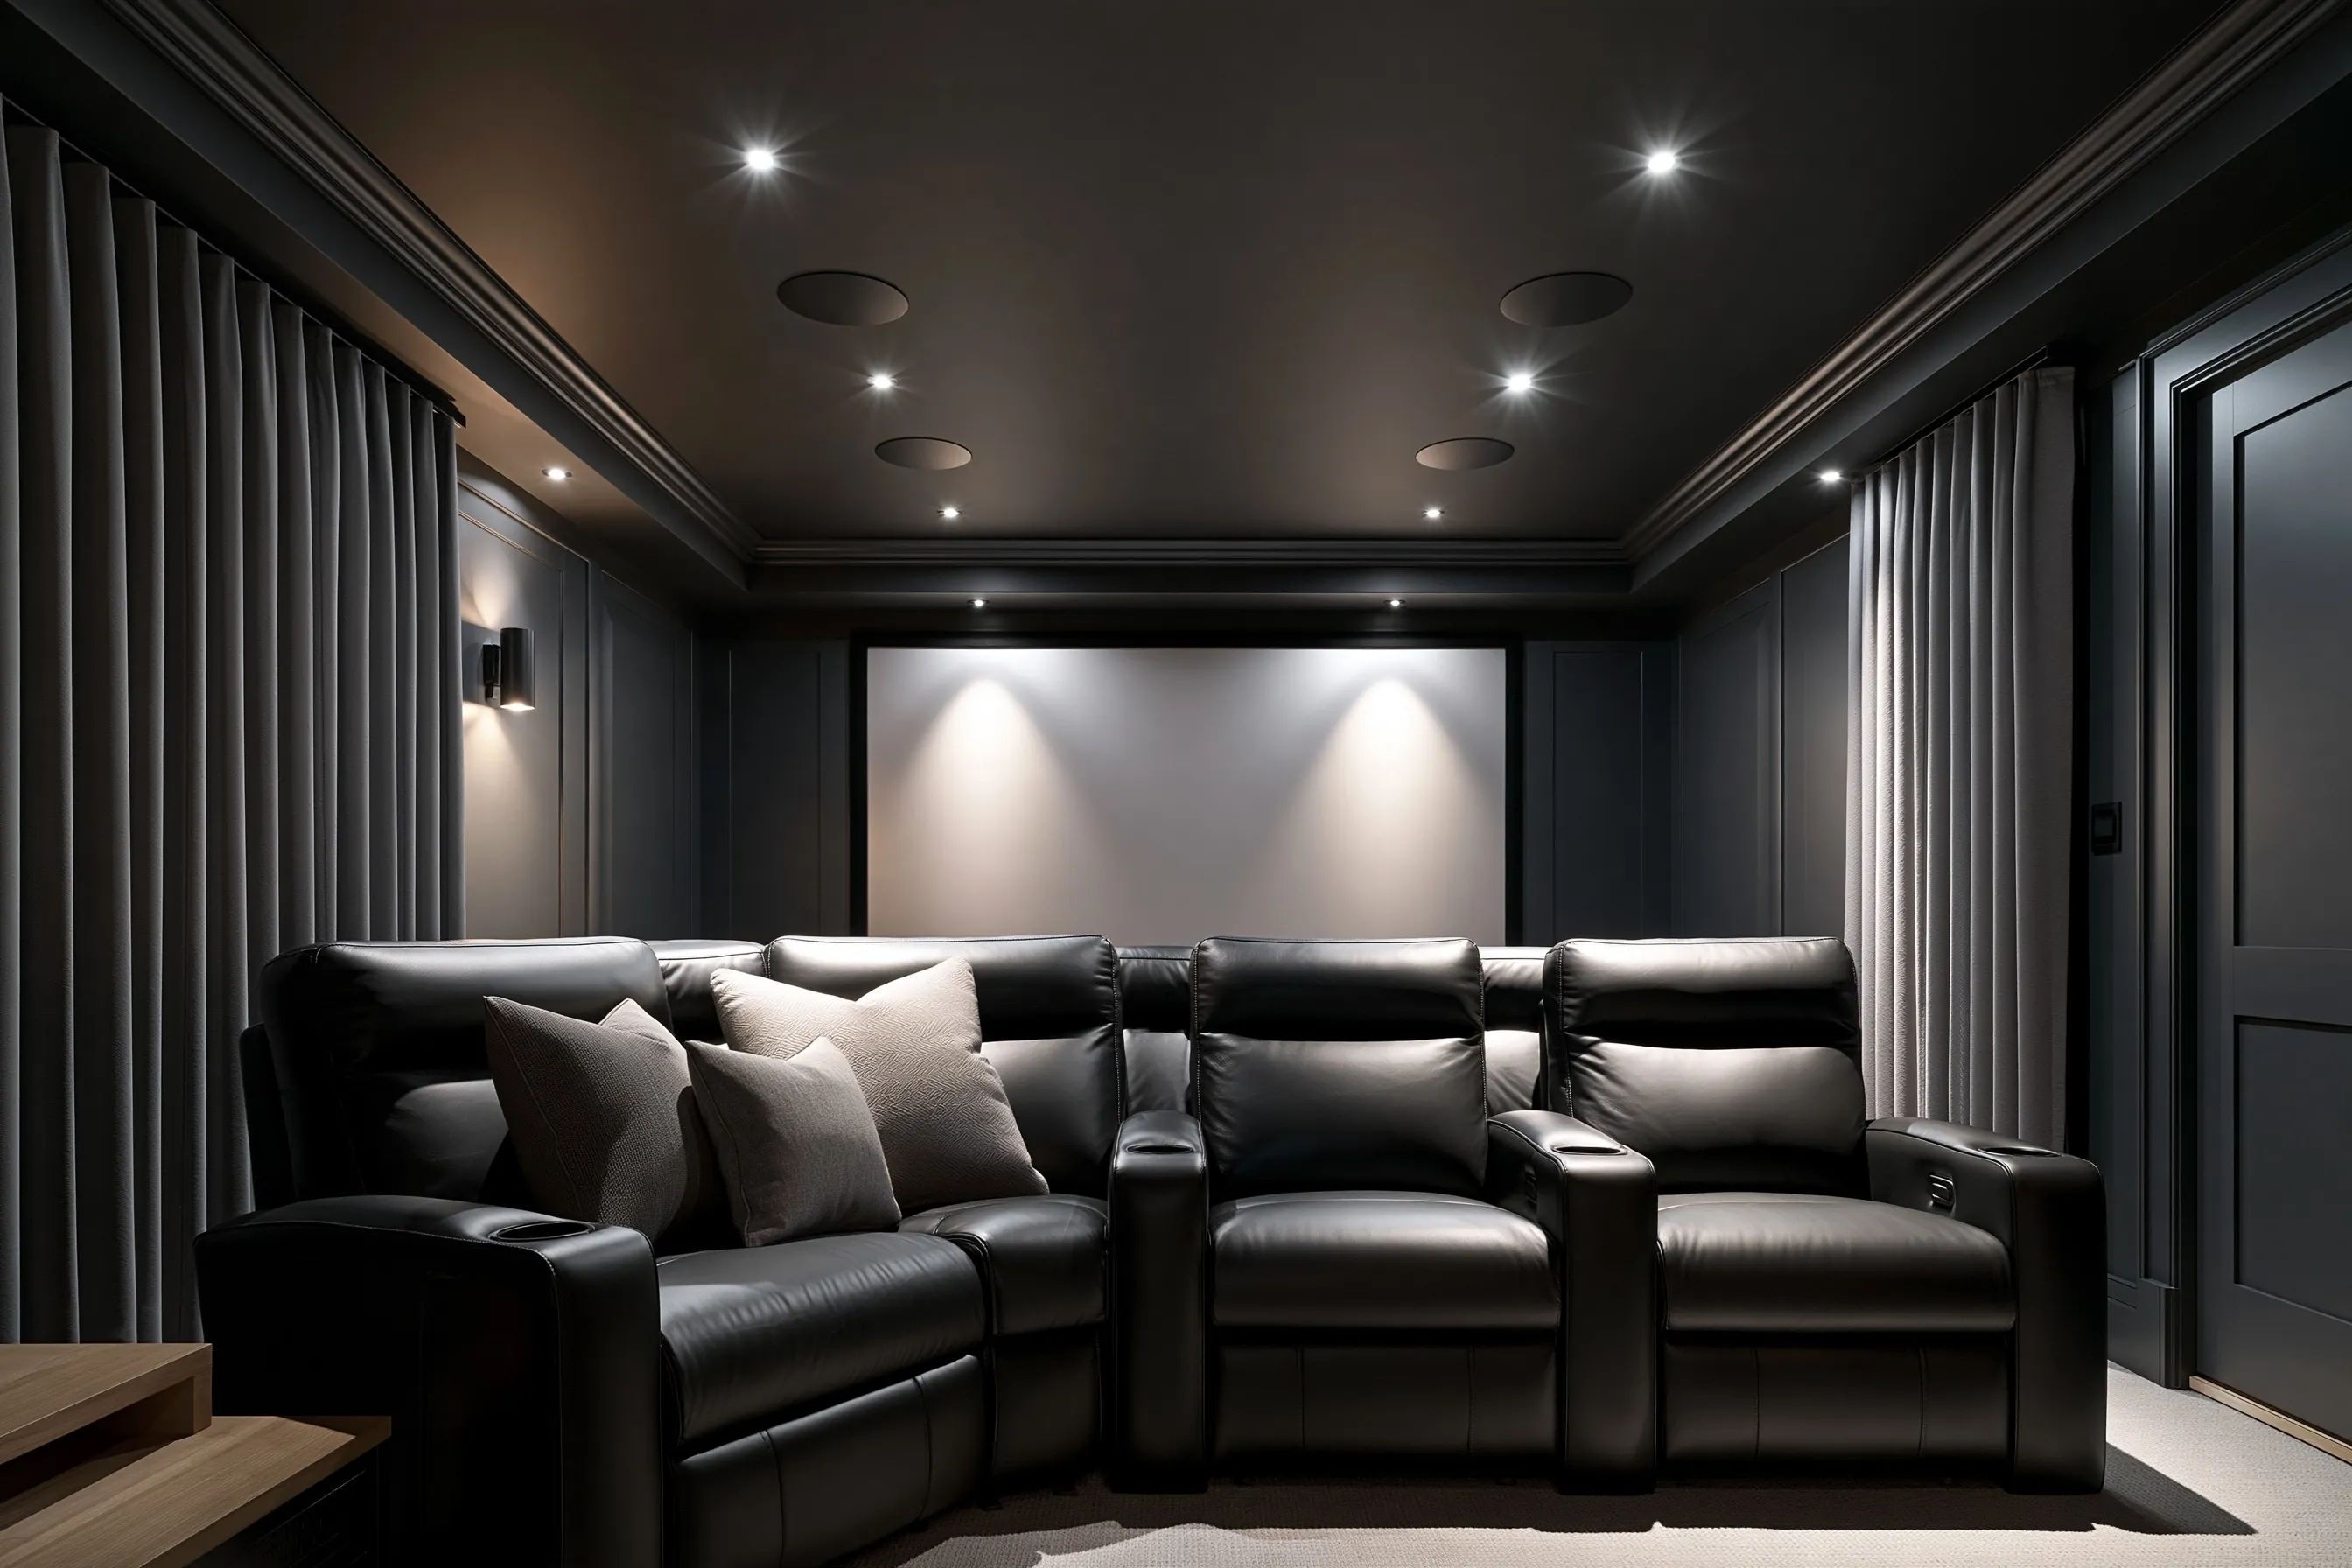
Dark theater ceiling with four flush round speakers above a row of leather recliners
Home
1960s house in Tukwila with an attic above the media room
Original request
Overhead sound for Atmos movies, using the 5.1 system already in the room
Speakers
Four flush round speakers in the ceiling, two in front of the seats and two behind
Receiver
Already able to play Atmos, so it stays
Cables
Run through the attic, with no wall patching
Estimated cost
$2,900

Scope of work

Four in-ceiling speakers cut in around the seats, cables run through the attic to the receiver, the receiver set up for the new speakers, and the whole system leveled for the seats.

Project overview

In this example, the owners of a 1960s house in Tukwila have a 5.1 system in their media room and a receiver that can already play Atmos. They want the rain and helicopters in films to sound overhead, without replacing anything.

The room sits under the attic, so the four ceiling speakers go in from below and the cables run across the attic to the equipment. Nothing in the walls needs opening.

The goal

The goal is sound from above the seats, added to a system the owners already have.

Process

  1. Before work Speaker spots marked around the seats and the attic checked for joists, wiring and insulation.
  2. Cut-in Openings cut and the speakers fitted flush with the ceiling.
  3. Cables Cables run across the attic and down to the receiver, and the insulation put back.
  4. Set-up Receiver set for the ceiling speakers and every level checked from the seats.

Planning right

  • Check the receiver before buying speakers. It needs outputs for the overhead channels.
  • Ceiling speakers sit a little in front of and behind the main seats.
  • Lay the attic insulation back over the cables and around the speakers.
  • Round speakers with thin grilles can be painted to match the ceiling.

Get a free quoteMore about surround sound and Dolby Atmos

Theater cables run before the drywall in a new addition

Example project

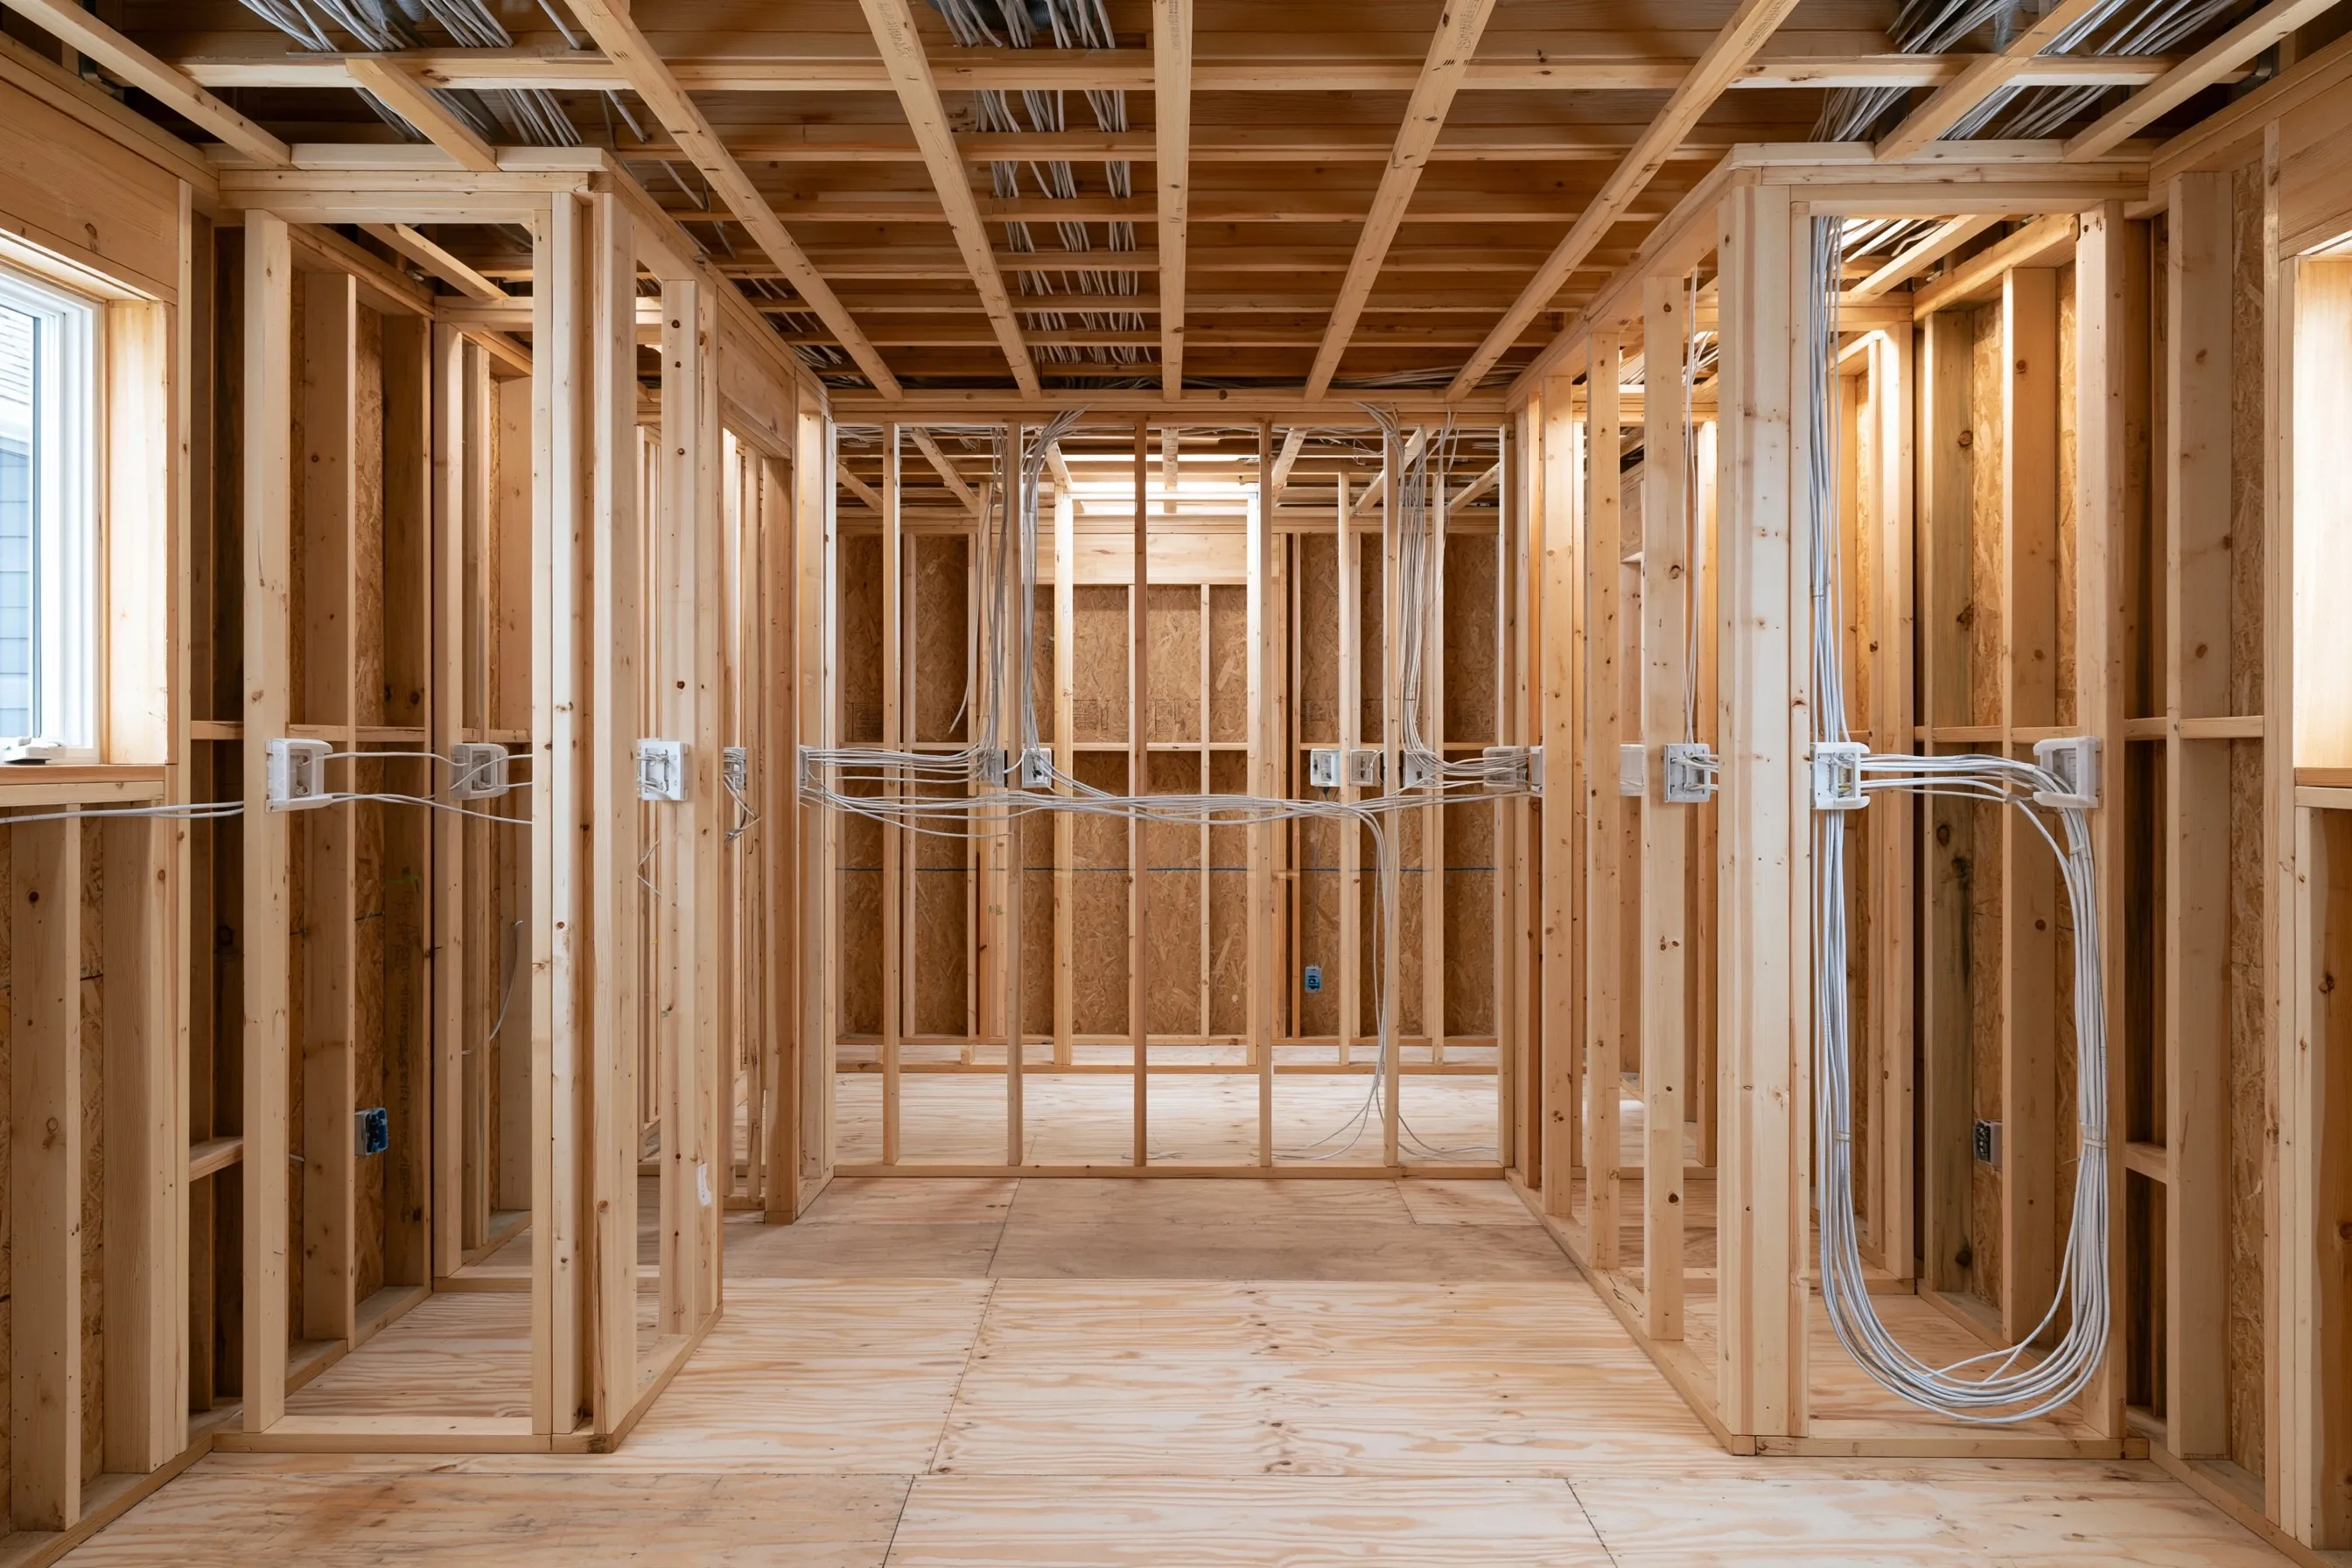
Framed rooms with open stud walls, bundled cables, white low-voltage brackets and a plywood floor before drywall
Home
1990s house in Newcastle, new addition at the back with the framing up and walls open
Original request
Cables for a future theater, run before the drywall goes up
Runs
11 in all, for five front and surround speakers, four ceiling speakers, the projector and the network
Ends
Low-voltage brackets at each spot and every run labeled at the equipment wall
Not included
Speakers, screen and projector, which come later
Estimated cost
$2,600

Scope of work

Speaker, video and network cables run through the open studs and joists, low-voltage brackets at each speaker, screen and projector spot, every run labeled at the equipment wall and tested before the drywall goes up, and wall plates fitted after painting.

Project overview

In this example, the owners of a 1990s house in Newcastle are building an addition at the back and plan to make its main room a theater in a year or two. The framing is up and the walls are still open.

Open walls are the easiest time to run cable. We mark where the screen, the seats and each speaker will go, run every cable to one equipment wall and test each run before the drywall crew arrives. The electrician’s cables share the joists, so ours are labeled at both ends.

The goal

The goal is an addition ready for a theater, with every cable in place before the walls close.

Process

  1. Before work Seats, screen and speaker spots marked on the framing with the owners.
  2. Runs Cables pulled through studs and joists and brackets fixed at each spot.
  3. Check Every run tested and labeled, and photos taken of the walls before they close.
  4. After drywall Wall plates fitted once the painting is done.

Planning right

  • Photograph the open walls. You will want to know where the cables are later.
  • Run one more cable than you think you need.
  • Keep speaker cable apart from power cable where they run side by side.
  • A spare conduit to the equipment wall makes the next upgrade easier.

Get a free quoteMore about home theater wiring and prewiring

One remote for the TV, receiver and streaming box

Example project

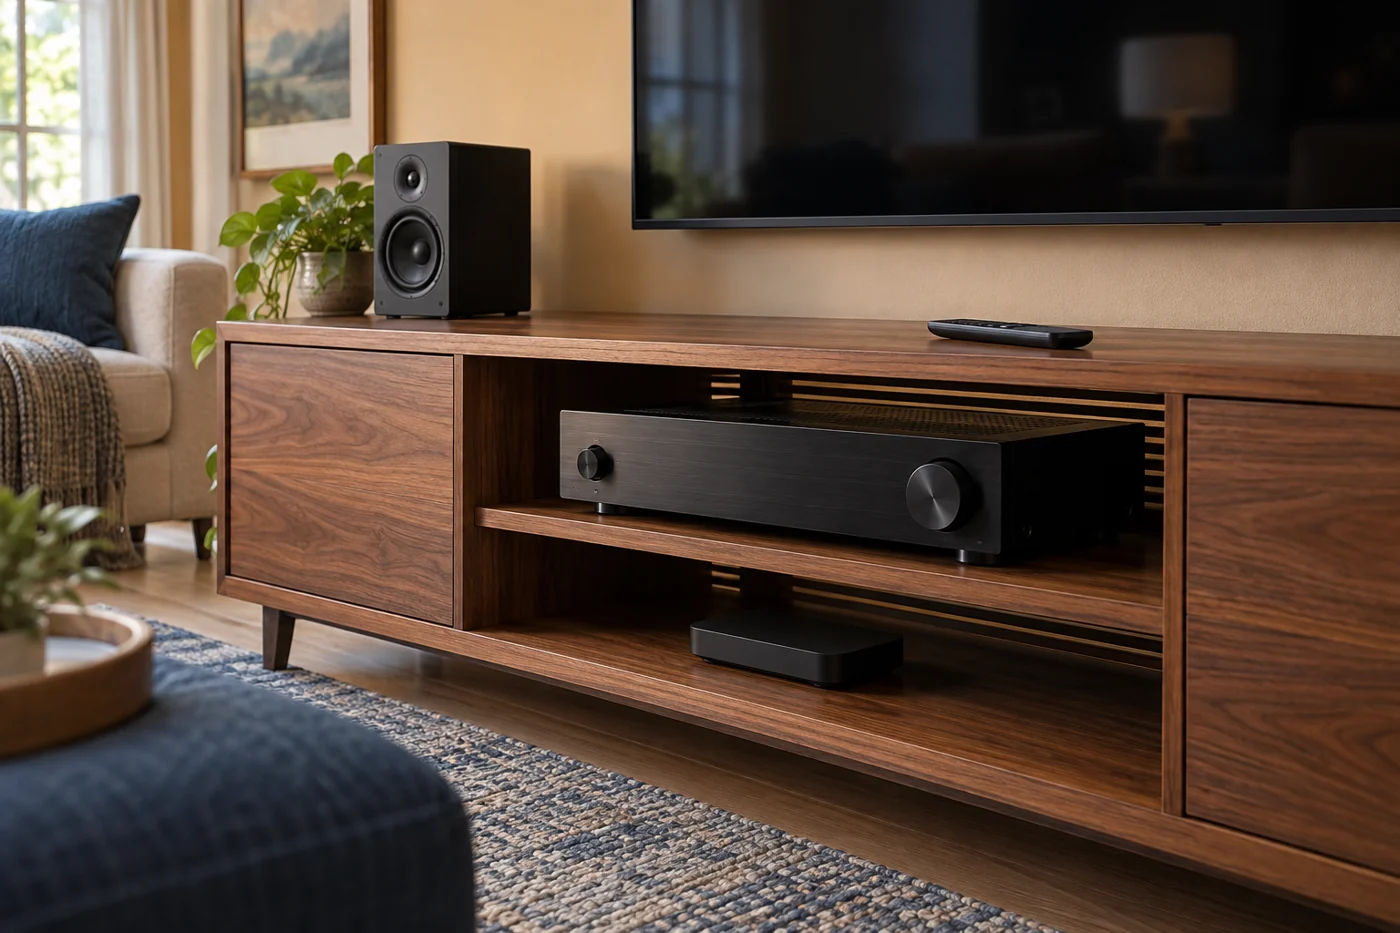
Walnut media console with a receiver on an open shelf, a streaming box below, a remote on top and a speaker beside the TV
Home
1970s house in Renton
Original request
One remote for the TV, the receiver and the streaming box
Equipment
TV, receiver, streaming box and two speakers, all working and kept
Work
Universal remote and phone app set up, receiver moved to the open shelf, cables tidied
Estimated cost
$2,200

Scope of work

A check that every device works and responds, a universal remote and phone app set up for TV, streaming and music, the receiver moved to the open shelf with its cables tidied and labeled, and a walk-through with the family.

Project overview

In this example, the owners of a 1970s house in Renton have a TV, a receiver, a streaming box and two speakers that all work, but it takes three remotes and a few minutes to start a film. Visitors give up.

Nothing new is needed except the control. One remote and a phone app get simple buttons for TV, streaming, music and all off. The receiver moves to the open shelf in the console, where it gets air and the remote can reach it.

The goal

The goal is one remote that anyone in the house can pick up and use.

Process

  1. Before work Every device listed, its inputs checked and the family asked what they watch most.
  2. Tidy Receiver moved to the open shelf, cables shortened, tied and labeled.
  3. Program Remote and app set up with one button for each activity.
  4. Handover Each button tried with the family and a one-page sheet left by the TV.

Planning right

  • Set up buttons for what you do, such as watching a film, not one for each device.
  • Leave space above a receiver so it stays cool.
  • Label both ends of each cable. It saves time at the next upgrade.
  • Keep the old remotes in a drawer for the odd setting.

Get a free quoteMore about home theater upgrades and controls

Panels and bass traps for a basement media room

Example project

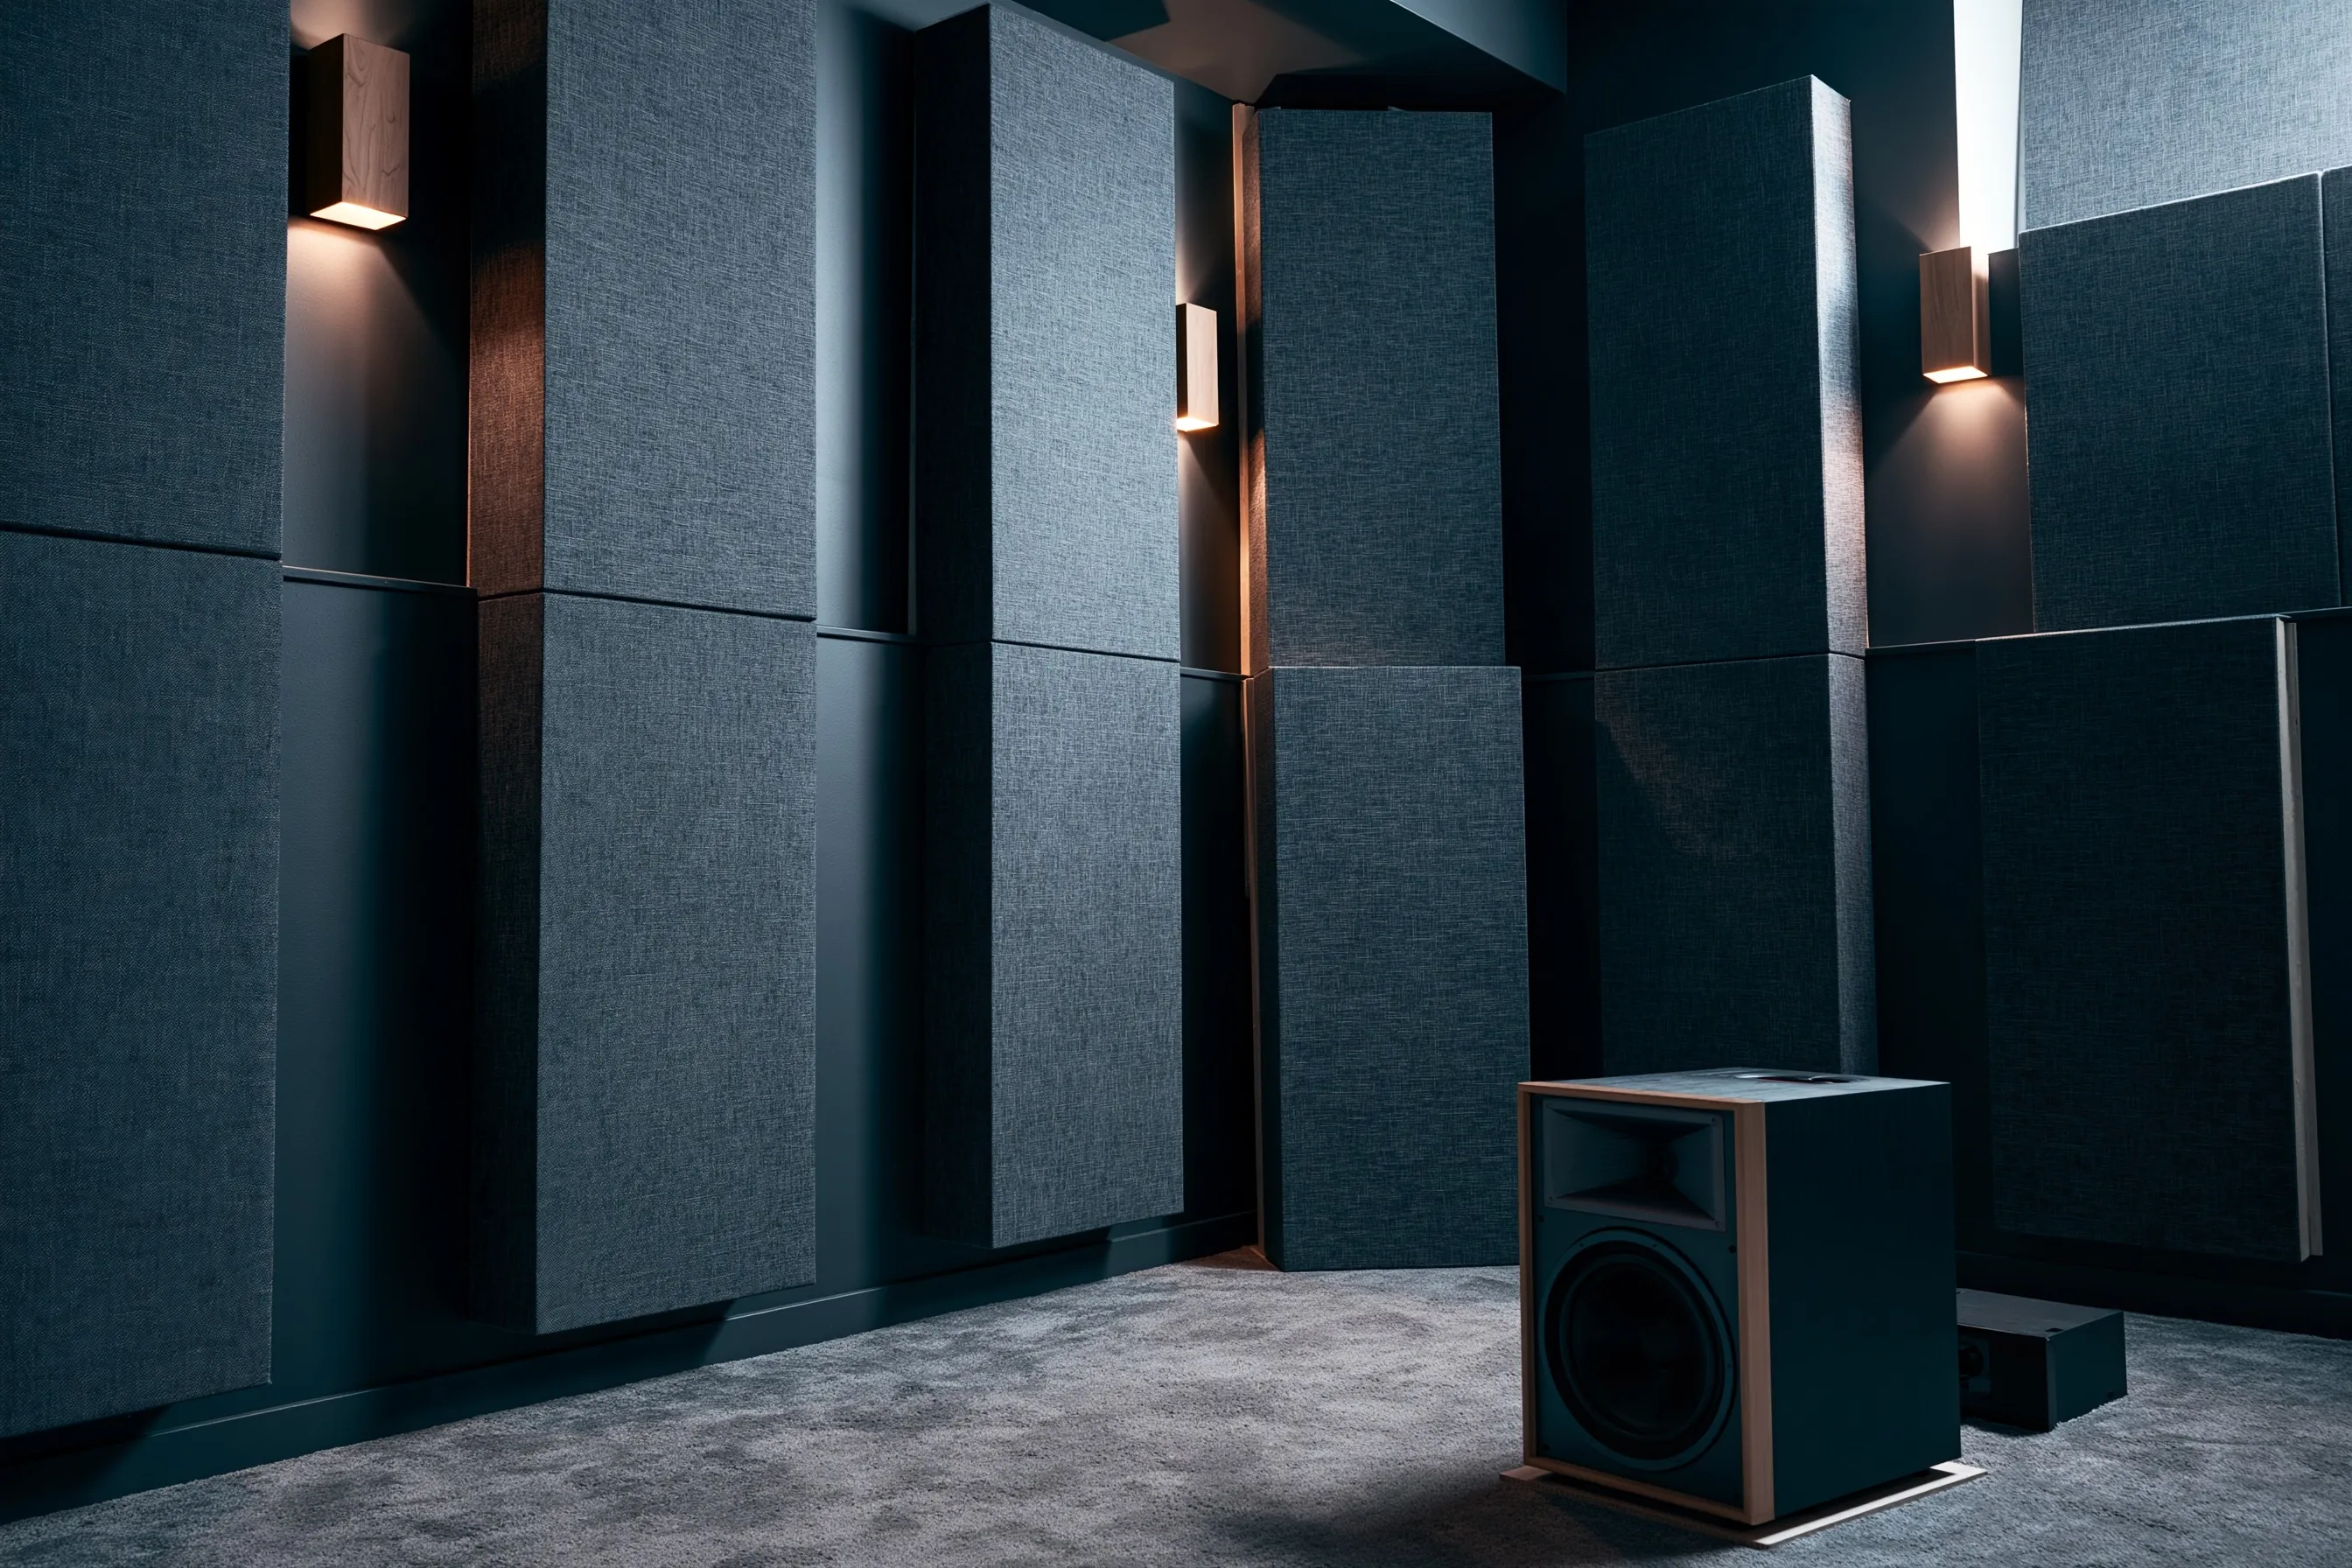
Dark media room with tall fabric panels stacked two high on the walls, tall corner bass traps and a speaker on the carpet
Home
1980s house in Renton, finished basement used as a media room
Original request
Clearer voices and less booming bass, with the same equipment
Room
About 13 by 18 ft, with dark walls, carpet, wall lights, a TV and 5.1 speakers already in
Treatment
About a dozen tall fabric panels stacked two high along the walls, and two tall corner bass traps
Not included
Soundproofing. The panels change how the room sounds, not how much sound leaves it
Estimated cost
$3,000

Scope of work

The room measured and the system played from the main seat, about a dozen fabric panels fixed two high along the walls, working around the wall lights, two tall bass traps in the corners, and a second check from the seats with the speaker settings adjusted. Soundproofing is not part of this job.

Project overview

In this example, the owners of a 1980s house in Renton have a basement media room with a TV and a 5.1 system. Voices sound smeared and the bass booms at the back of the room, even at normal volume.

Bare drywall bounces the sound around. Tall fabric panels go up two high along the walls, between the wall lights, and two tall bass traps fill the corners. The room still lets sound out to the rest of the house, which only soundproofing would change, and that is a different job.

The goal

The goal is clear voices and even bass at the seats, with the same equipment.

Process

  1. Before work Room measured, the system played from the main seat and the reflection points marked.
  2. Fitting Panels and bass traps fixed to the walls and corners.
  3. Check The same test played again from the seats and the speaker settings adjusted.
  4. Handover Owners shown how to clean the fabric and what to move if the seats change.

Planning right

  • Treat the room after the seats and speakers are in place, not before.
  • Panels fix echo and boom inside the room. They do not keep sound in.
  • Bass traps work best in the corners.
  • Tell us about shared walls if noise for others is the real worry.

Get a free quoteMore about home theater acoustic treatment

Request a free home theater quote

Tell us about the room, the equipment you already have, what you watch or listen to most and where the home is. We'll get back to you soon to arrange a visit or with any questions we have. Estimates are free and there's no obligation.

Call (425) 873-8868